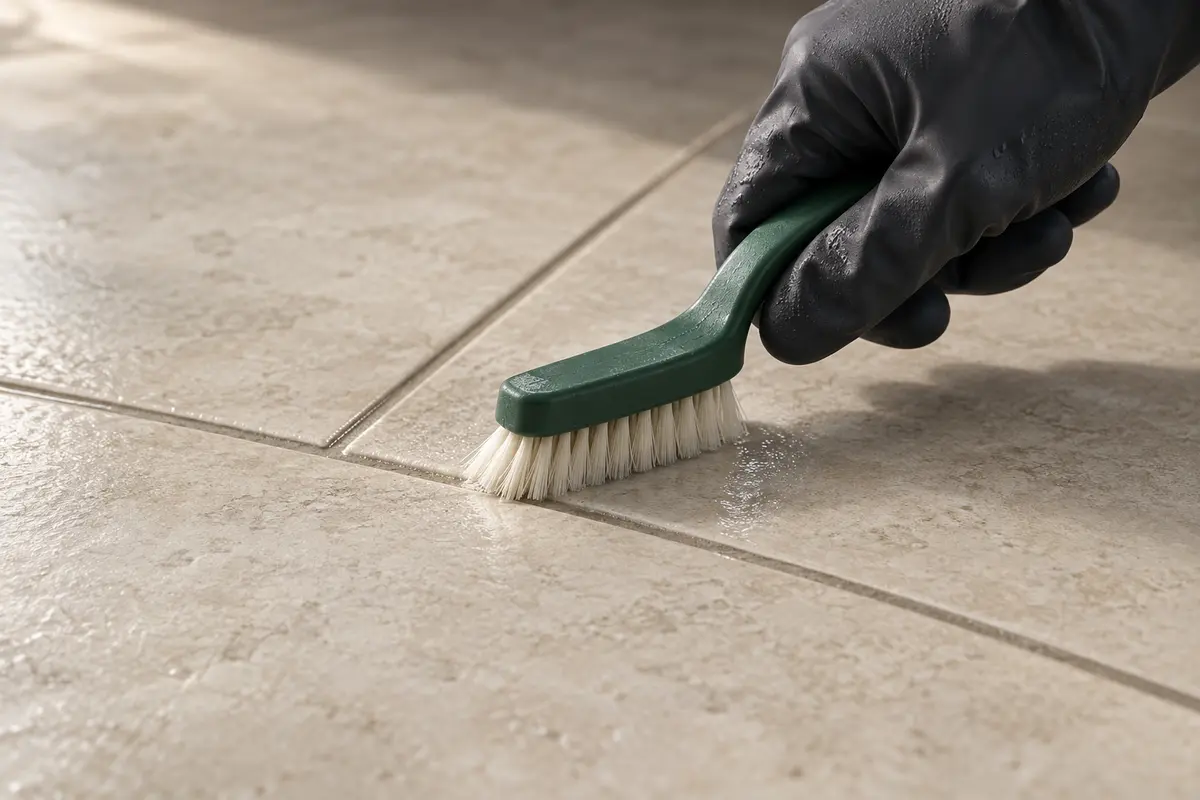
Clean grout without damaging the tile around it
Identify the surface, start with a compatible cleaner, and remove the dirty solution. More chemical strength is not automatically a better result.
Read tutorial ↗Explore 8 practical tutorials for tile care, grout repairs, materials and the layers beneath the finish.
8 articles to explore
Identify the surface, start with a compatible cleaner, and remove the dirty solution. More chemical strength is not automatically a better result.
Read tutorial ↗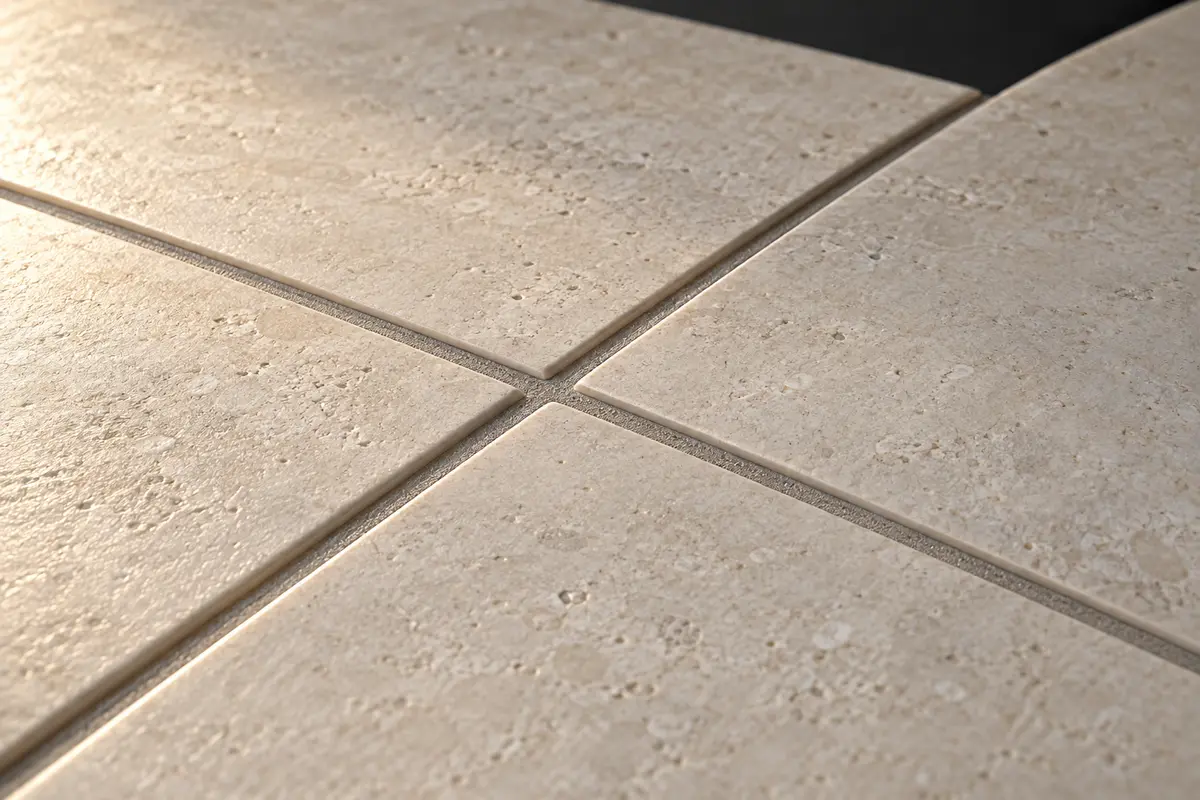
The lasting part of a regrout is the preparation: stable tile, enough joint depth, controlled removal and a compatible new grout.
Read tutorial ↗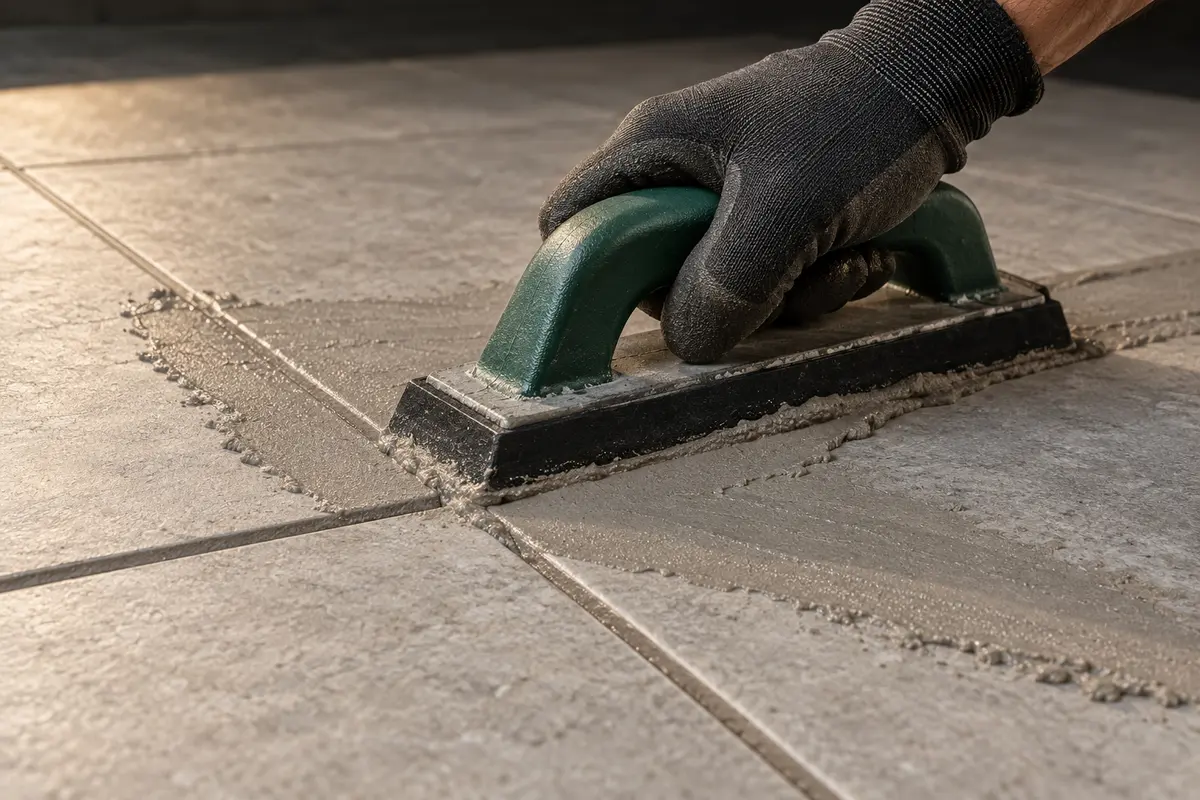
A small backsplash is a useful place to practise. Work in manageable sections, protect the finish and keep countertop transitions flexible.
Read tutorial ↗First establish whether the grout needs a sealer. When it does, clean preparation and complete removal of excess matter more than adding extra coats.
Read tutorial ↗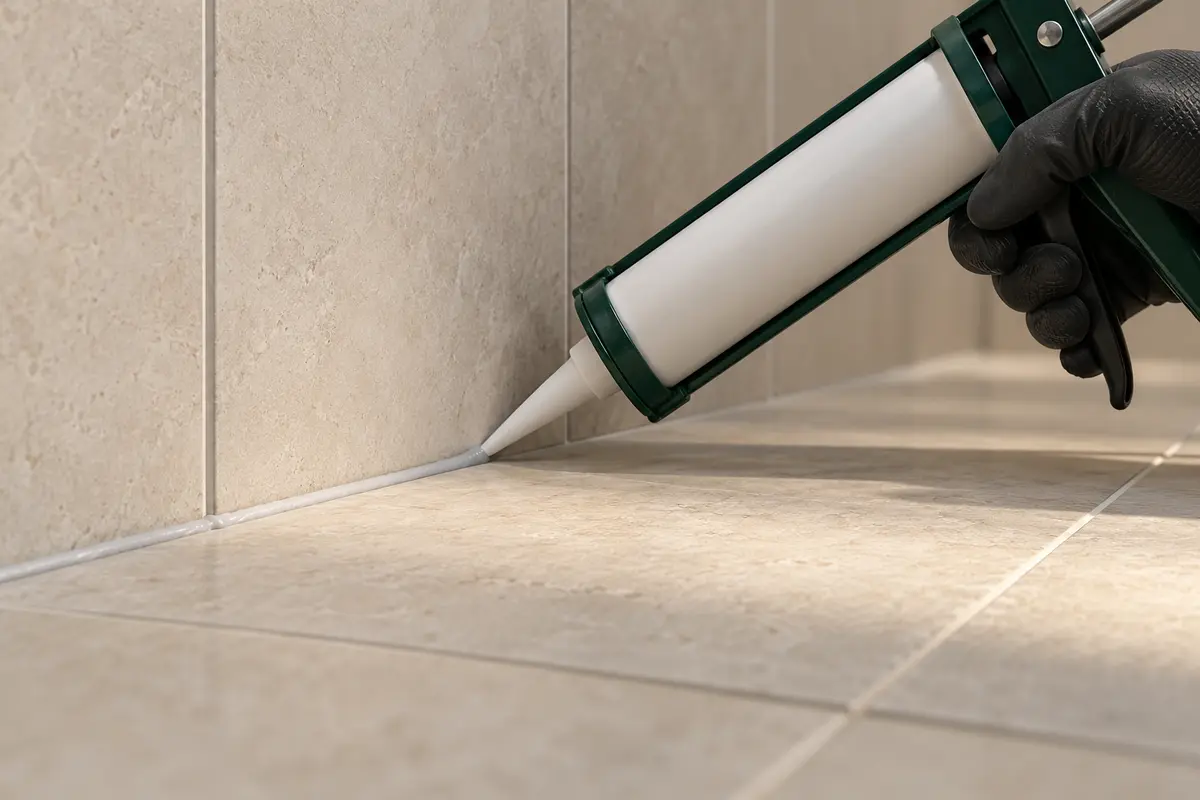
A flexible joint needs clean bonding faces and the right shape. A fresh bead over contaminated old silicone is not a reliable repair.
Read tutorial ↗Identify both the grout and the tile before choosing a haze remover. Cement haze and resin haze need different treatment.
Read tutorial ↗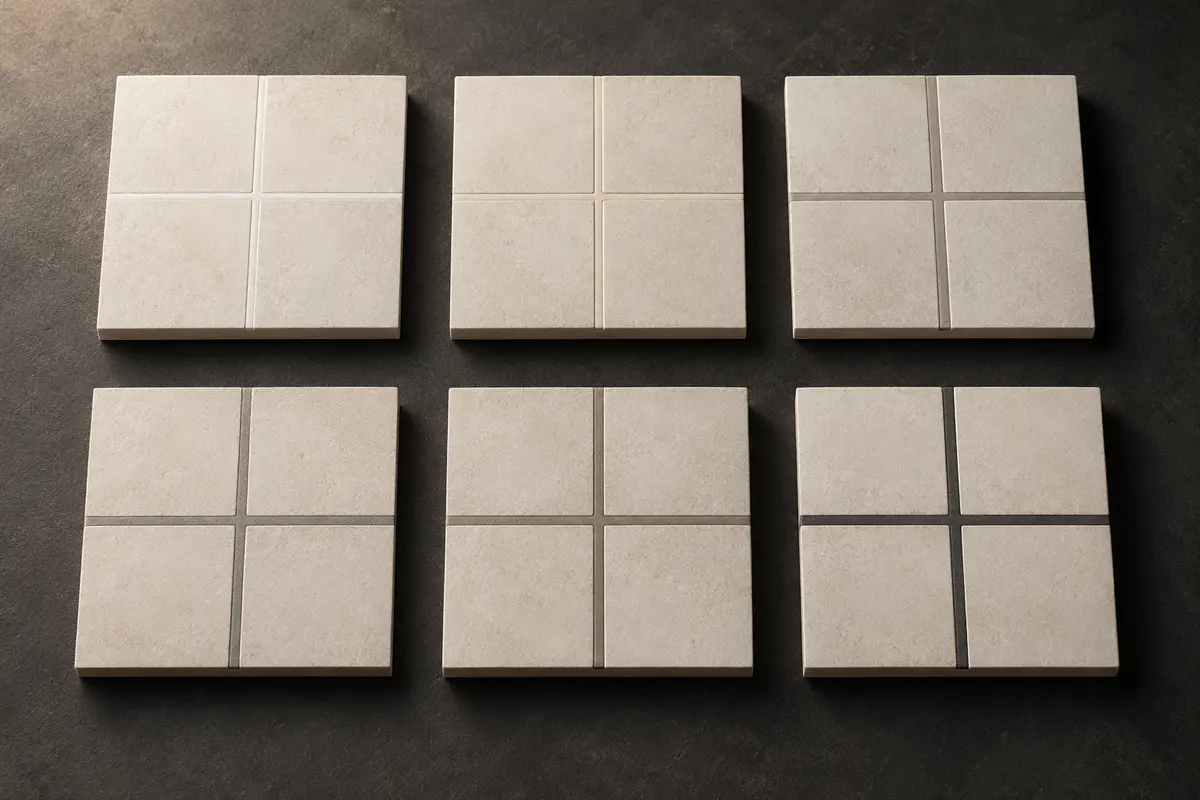
A compatible grout colourant can refresh intact joints. It should follow cleaning and assessment, with a test for adhesion and tile staining.
Read tutorial ↗
Outdoor grout is one part of an assembly exposed to water and temperature changes. The installation window includes the protected curing period.
Read tutorial ↗No articles match those filters. Try a broader term such as cleaning, grout or shower.
Turn what you have noticed into a useful project brief. Then ask HAUSE to review the available next step.