0 of 3 preparation items checked.
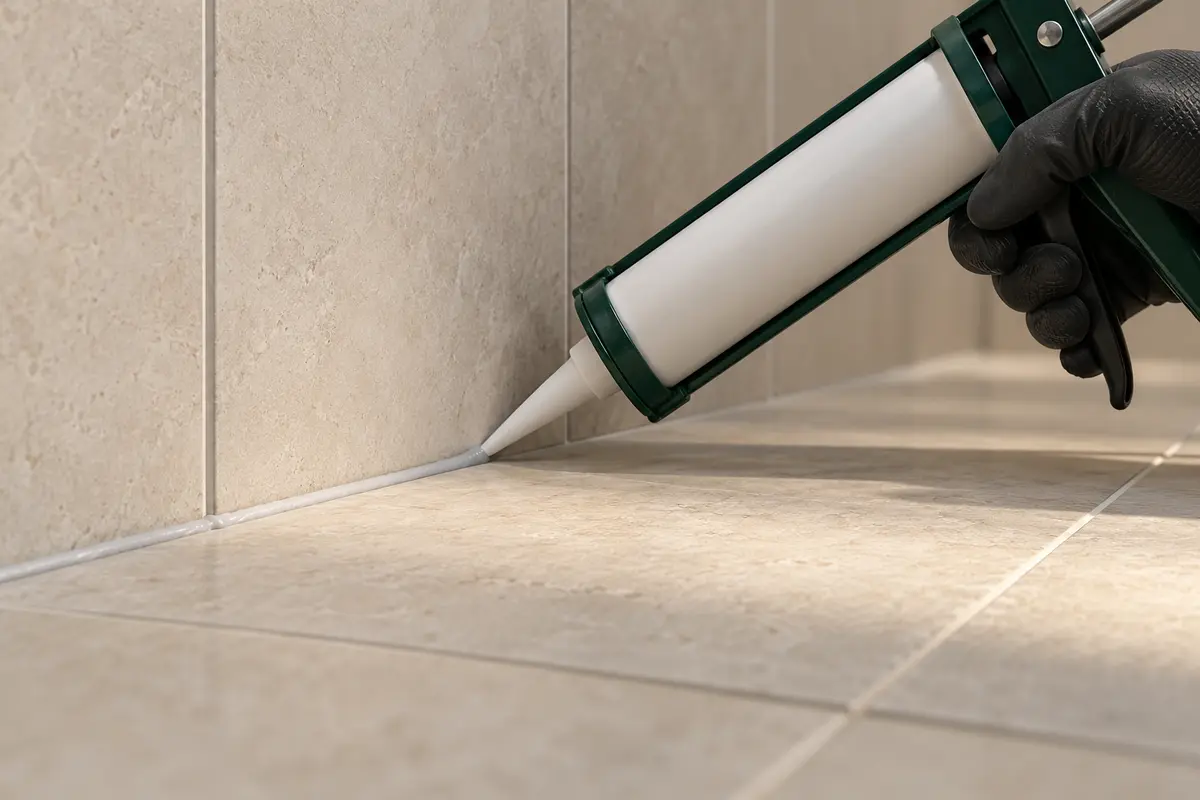
Wall corners and other movement locations need the treatment specified for the tile assembly, often a compatible 100% silicone sealant or a movement profile. The replacement should accommodate movement and bond to suitable surfaces. Its role is different from grout between the tile faces.
Before you start
Clear the joint so its full length can be reached without stretching across a wet floor or resting tools on a delicate tub edge. Read the sealant's current directions before buying a solvent or tooling liquid: the cleaner must suit both the sealant and adjacent materials. Check the tube's condition and storage history. Decide how old material will be removed, how the gap will be cleaned and how the shower will remain out of service through the required curing period. If the joint detail is unknown, resolve it before applying a bead.
Gather your tools
- Compatible wet-area silicone
- Controlled sealant-removal tool
- Manufacturer-approved cleaning supplies
- Caulking gun and tooling aid
- Backer material where specified
Step by step
- Inspect before removing. Check for a separated bead, damaged edges and moisture on adjoining finishes. Photograph the joint and locate the waterproofing details if construction records are available.
- Choose the sealant. Confirm suitability for the tile or stone, joint width, wet exposure and existing system. Colour-matched acrylic caulk and 100% silicone are not automatically interchangeable.
- Remove the failed material. Remove old sealant and residue from the bonding faces using a method that protects tile, tubs and membranes. Avoid cutting blindly into a deep or unknown gap.
- Prepare the joint geometry. Allow the joint to become clean and dry. Use the specified backer material and depth so the new sealant forms the intended joint, not an uncontrolled plug.
- Apply and tool. Place a continuous bead and tool it within the working time using approved methods. Keep the profile consistent and maintain contact with the intended bonding faces.
- Let it fully cure. Keep the joint out of service until the manufacturer's water-exposure requirement is met. Skin formation or a tack-free surface does not establish full cure.
Common mistakes to avoid
- Covering a failed or contaminated bead because its centre still appears attached.
- Using the visible surface skin as the only test that the joint can be exposed to water.
- Treating a deep unknown gap as something to fill completely, without checking the specified backing and sealant geometry.
When to stop
- Stop if removal exposes damaged waterproofing, soft backing or loose tiles.
- Have an unusually wide, moving or recurring failed joint assessed before resealing.
Check the result
Look for continuous adhesion with no gaps, thin feathered edges or trapped debris. Keep a dated photo for comparison.
A neat appearance is useful, but inspect the attachment along both sides too. Photograph suspicious transitions or recurring failures for an assessor rather than disguising them with a wider bead. Retain the product name and colour so future maintenance can use compatible materials.
Product instructions come first
Use the current instructions for the exact grout, tile, cleaner and sealant selected. The guidance here explains the sequence and decisions; product-specific compatibility, protection and curing requirements still apply.
HAUSE editorial · Reviewed 9 October 2026. Use the current regional instructions for the exact products and assembly.
- CUSTOM: Commercial 100% Silicone Sealant, TDS-100 — CUSTOM Building Products
- MAPEI Canada: Mapesil T Plus — MAPEI
- Schluter: Movement joints remain necessary with DITRA — Schluter-Systems