0 of 3 preparation items checked.
A grey joint may contain ordinary soil, soap residue, staining or a coating from an earlier treatment. Treating all four as the same problem can damage a finish while leaving the original issue in place. Test one discreet section and judge the result after it dries.
Before you start
Set up a small trial rather than treating the entire room at once. Choose a patch that includes grout, tile face and a tile edge so you can assess all three. Photograph it dry in ordinary room lighting. Put clean rinse water, collection cloths and a place for used cloths within reach before opening the cleaner. Read the label for ventilation and protective equipment. If the previous cleaner is unknown, do not add another product on top of it; establish a compatible cleaning and rinsing sequence first.
Gather your tools
- Compatible tile-and-grout cleaner
- Soft or manufacturer-approved brush
- Clean cloths and water
- Label-specified gloves and eye protection
Step by step
- Identify the materials. Find the tile and grout product if possible. Marble, limestone, travertine, metallic glazes, colourants and existing sealers need particular compatibility checks.
- Remove loose dirt. Collect grit before wet cleaning so it is not dragged across the finish. Keep children and pets away from the work area while products and dirty water are present.
- Choose a first treatment. For routine soil, select a neutral-pH cleaner explicitly approved for the tile and grout. Use its dilution and test it where a poor result would be least noticeable.
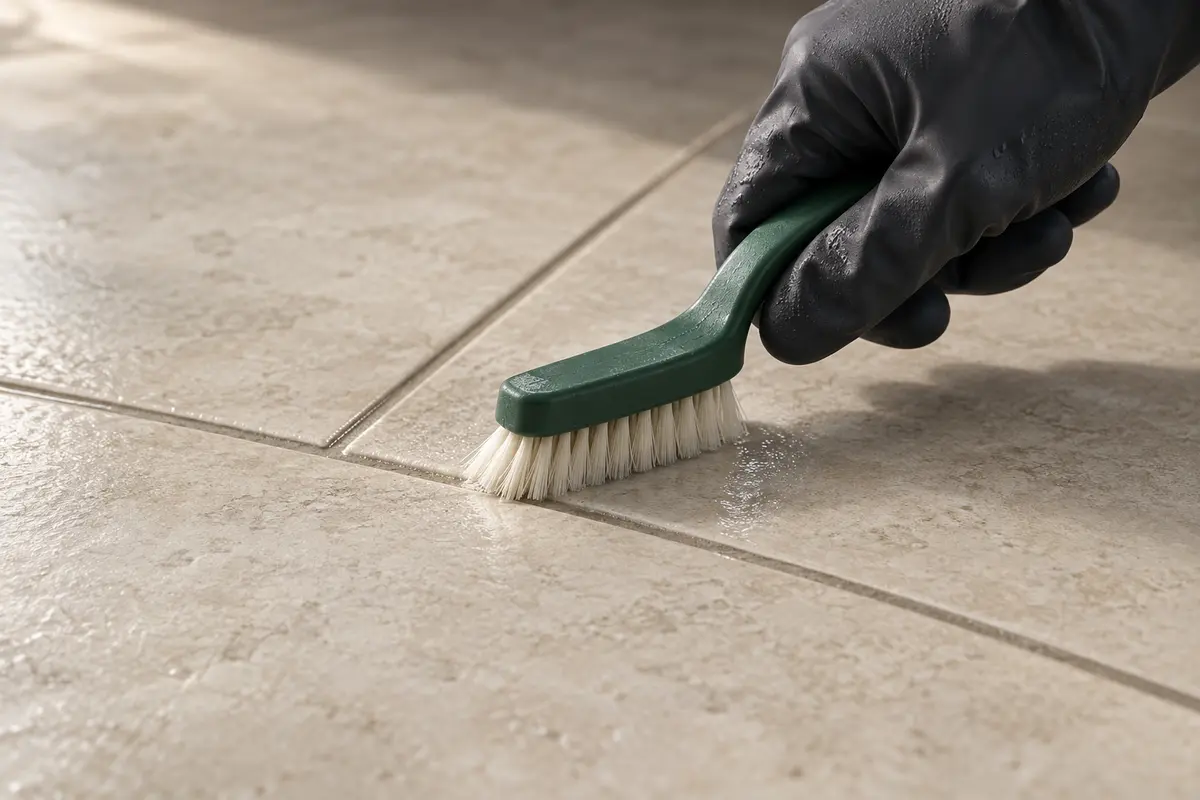
- Let the product work. Follow the dwell time, then use a compatible brush or pad. Do not let the dirty solution dry back onto the surface.
- Lift out the residue. Collect the dirty liquid, change it as needed and follow the product's rinse instructions. Repeatedly pushing the same dirty water around can leave the joint looking unchanged.
- Reassess when dry. Compare the test area in the same light. Persistent discoloration may need a targeted stain treatment, colourant, or investigation of ongoing moisture.
Common mistakes to avoid
- Repeated hard scrubbing without checking whether the discoloration is soil, a stain or a damaged surface.
- Using the strongest available cleaner before identifying the tile finish and any sealer or colourant.
- Judging wet grout against dry grout elsewhere in the room, or promising an exact original colour before the test has dried.
When to stop
- Stop if the tile loses gloss, changes colour or the grout begins breaking away.
- Never mix cleaners; do not combine bleach with vinegar, acids, ammonia or another cleaning product.
Check the result
A successful test improves the joint without changing the tile finish. Do not extend an uncertain treatment to the whole floor.
For a kitchen, note the result near a cooking area separately from a sheltered corner. For a shower, note whether the improved appearance lasts after normal use. A dated test gives you a useful basis for deciding whether to continue, try an approved targeted treatment or investigate a different cause.
Product instructions come first
Use the current instructions for the exact grout, tile, cleaner and sealant selected. The guidance here explains the sequence and decisions; product-specific compatibility, protection and curing requirements still apply.
HAUSE editorial · Reviewed 9 October 2026. Use the current regional instructions for the exact products and assembly.
- CUSTOM: Aqua Mix Concentrated Stone & Tile Cleaner, TDS-163 — CUSTOM Building Products
- CCOHS: Cleaning Products – Working Safely — Canadian Centre for Occupational Health and Safety
- CUSTOM: Aqua Mix Cement Grout Haze Remover, TDS-313 — CUSTOM Building Products