0 of 3 preparation items checked.
The attractive part of the job is a crisp, even joint. Achieving it begins before mixing: the tile must be secure, the setting material ready for grout and the surface compatible with the grout's aggregate and pigments. Decorative tile deserves a test board.
Before you start
Arrange the work so that mixing, spreading and cleanup can happen without a search for tools halfway through. Put clean buckets, sponges and cloths within reach, and protect the counter from both grout and wash water. Decide where the first small section will end. If several grout packages are needed, check their colour and lot information together and follow the manufacturer's approach to batch consistency. Plan the separate countertop and corner treatment at the same time so those locations are not accidentally filled during the main grouting pass.
Gather your tools
- Selected grout and its current instructions
- Measuring container and clean bucket
- Suitable mixer or hand tool as directed
- Rubber grout float
- Grout sponge and clean water
Step by step
- Read both product instructions. Check when the tile-setting mortar permits grouting, then check the grout's approved joint widths, tile finishes, temperature limits and cleaning method.
- Test the visible finish. Use a spare tile or discreet patch to check for scratches, staining and trapped residue. Porous or textured tile may need a compatible pre-grout treatment.
- Prepare the joints. Remove spacers and obstructions as specified. Confirm a consistent usable joint depth. Protect countertops and fittings without disturbing the newly installed tile.
- Mix exactly as directed. Measure rather than estimate. Some conventional grouts require a resting period followed by remixing; rapid-setting products may prohibit that pause. Do not revive stiffening grout with extra water.
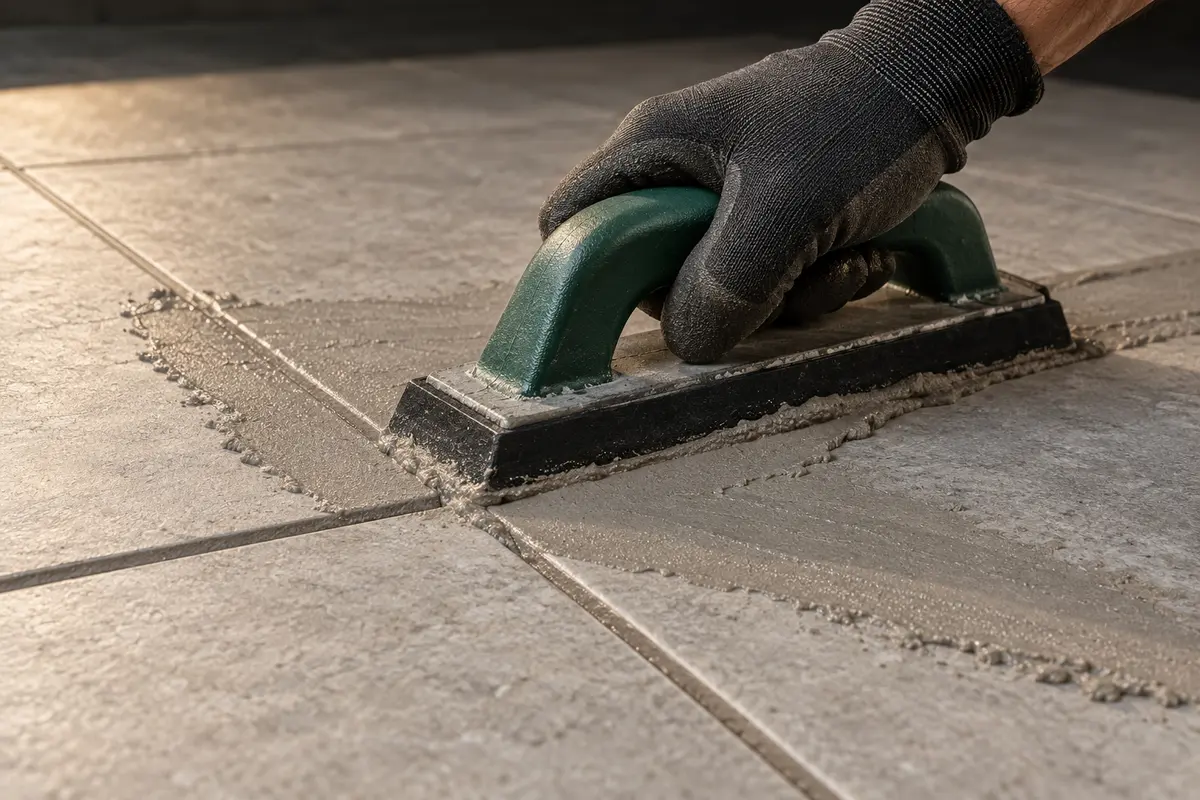
- Fill and clean a small section. Pack grout fully into field joints with the float, remove excess, and start cleanup at the product's specified stage. A wrung-out sponge and frequently changed water help control residue.
- Finish the transitions. Keep designated movement joints free for the specified sealant or profile. Respect the grout and sealant cure schedules before wet cleaning or normal use.
Common mistakes to avoid
- Choosing a large first section and discovering that cleanup cannot keep pace with the selected grout.
- Estimating water by eye, using a dirty bucket, or borrowing a mixing instruction from a chemically different product.
- Leaving decisions about textured tile, delicate glaze or countertop transitions until the grout is already mixed.
When to stop
- Pause if the grout scratches the tile, pigments stain the face or cleanup cannot keep pace.
- Do not hard-pack the tile-to-countertop transition merely to make it look uniform.
Check the result
Check under side lighting after the initial cleanup. Address residue using the correct product-specific method, rather than scrubbing fresh joints harder.
Before beginning, tell other household members when the backsplash and sink area will be unavailable. After cleanup, inspect the lower row and the edges around fixtures as carefully as the centre. Photograph the finished joints in the same lighting as the test board, and retain the actual package details.
Product instructions come first
Use the current instructions for the exact grout, tile, cleaner and sealant selected. The guidance here explains the sequence and decisions; product-specific compatibility, protection and curing requirements still apply.
HAUSE editorial · Reviewed 9 October 2026. Use the current regional instructions for the exact products and assembly.
- CUSTOM: Polyblend Plus Sanded Grout, TDS-360 — CUSTOM Building Products
- MAPEI Home: Ultracolor Plus FA — MAPEI
- Schluter: Movement joints remain necessary with DITRA — Schluter-Systems