0 of 3 preparation items checked.
If grout is structurally sound but the colour no longer works, removing it may be unnecessary. A purpose-made colourant is a surface treatment with preparation and maintenance requirements. It will not reconnect loose tiles or fill a deep missing joint.
Before you start
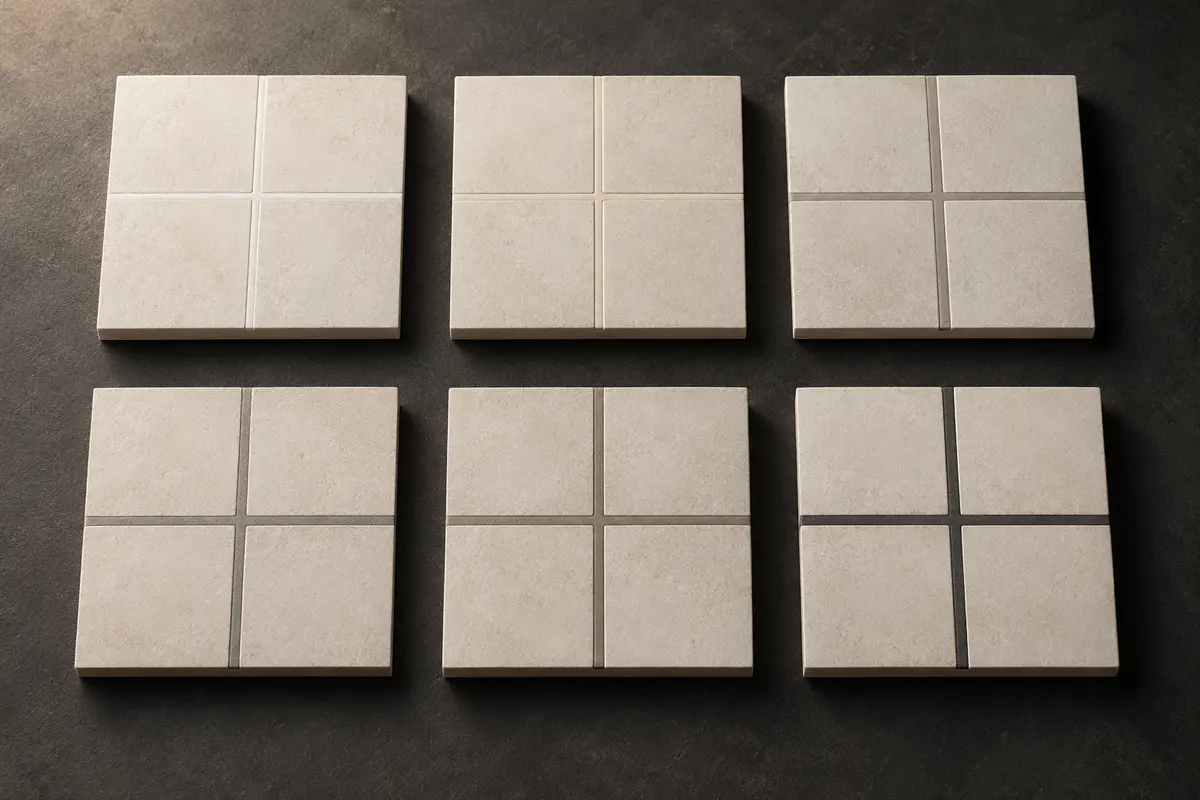
Choose a colour with a physical test rather than a screen swatch alone. A thin sample across several joints gives a better view of how the grout relates to the tile than one isolated dot. Record the existing grout type and any known sealer. Check whether the colourant is approved for that combination and for the room's use. Have the preparation supplies and cleanup cloths ready before beginning; successful application includes managing the neighbouring tile face, not simply painting inside a line.
Gather your tools
- Compatible grout colourant
- Small brush
- Protective materials
- Suitable preparation cleaner
- Test area
Step by step
- Check whether the joints qualify. Identify cracks, missing sections and ongoing moisture first. A colour change is a suitable goal only after repair needs are separated from cosmetic concerns.
- Identify coatings and materials. Find out whether the grout already has a sealer or colourant. Confirm that the new treatment is approved for the underlying grout and expected water exposure.
- Prepare without harming the tile. Follow the colourant's cleaning requirements while respecting the adjacent surface. If a suggested cleaner is unsuitable for the tile, ask the manufacturer for a compatible preparation route.
- Test the cured colour. Apply to a small area and examine it after the specified drying time. Porous or unglazed tile may need protection so the colourant does not absorb into the face.
- Apply thinly and evenly. Work in small sections with the recommended brush. Keep the coating on the joint, avoid puddles and remove unwanted residue within the product's working window.
- Protect and maintain. Respect the water-exposure and cleaning restrictions. Keep the product record so a future cleaner or repair does not accidentally strip the treatment.
Common mistakes to avoid
- Expecting a coating to bridge a crack, support a loose tile or hide an unresolved moisture problem indefinitely.
- Applying a large colour change across the whole room before the test has dried.
- Skipping existing-sealer compatibility checks or allowing colourant to soak into porous tile around the joint.
When to stop
- Stop if the preparation cannot produce a clean dry compatible joint.
- Do not use colourant to hide recurrent dampness, crumbling grout or an unexplained stain.
Check the result
Compare the fully dried test to a larger room view before committing to every joint.
Inspect the trial from the doorway as well as at floor level. If the result is acceptable, work through the room in a planned sequence so the coating can be protected. Label the remaining product and keep its maintenance instructions. Tell future cleaners that the joints have been recoloured rather than assuming they will identify the coating by sight.
Product instructions come first
Use the current instructions for the exact grout, tile, cleaner and sealant selected. The guidance here explains the sequence and decisions; product-specific compatibility, protection and curing requirements still apply.
HAUSE editorial · Reviewed 9 October 2026. Use the current regional instructions for the exact products and assembly.
- CUSTOM: Grout Renew, TDS-176 — CUSTOM Building Products
- TCNA: Color Variation — Tile Council of North America